
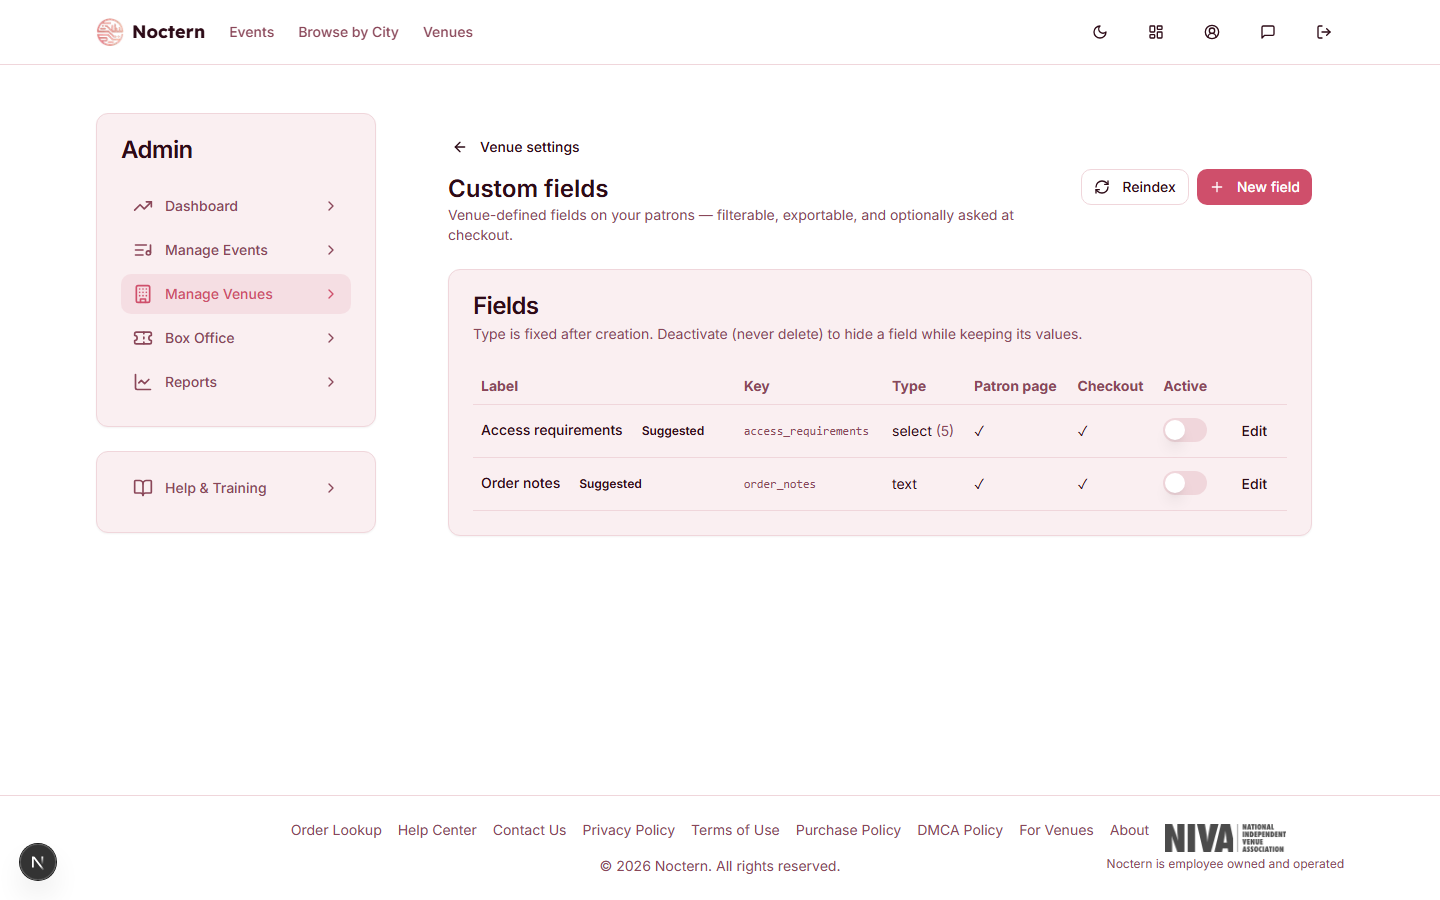
Custom fields let you collect extra information about your patrons — accessibility needs, dietary restrictions, t-shirt sizes, or anything venue-specific. Fields live on the patron record and can optionally appear at checkout.
Go to AdminVenues[venue]Custom Fields to manage your fields.
Field types
| Type | Use it for | |---|---| | Text | Free-form short answer | | Number | Numeric input | | Date | Date picker | | Boolean | Yes/No checkbox | | Select | Single choice from a picklist | | Multiselect | Multiple choices from a picklist |
Creating a field
- Click New custom field.
- Enter a Label (shown to admins and box-office staff). The system auto-generates a permanent key from the label — for example, "Seating Preference" →
seating_pref. The key cannot be changed after you save. - Choose a Type. For Select and Multiselect, add your option values.
- Toggle Show on patron page to display the field on the patron detail page.
- Toggle Ask at checkout if you want buyers to fill this in when purchasing tickets. Set a Buyer-facing label and optional Help text for what they see at checkout.
- Toggle Required if the field must be filled before checkout can proceed.
- Click Save.
Checkout behavior
If Ask at checkout is on, the field appears above the Pay button in the public checkout. Required fields prevent payment until the buyer fills them in.
After purchase, answers appear as colored badges on the event's Attendees page — useful for door staff to identify patrons who need specific seating or accommodations.
Deactivating a field
You cannot delete a custom field that has data — deactivate it instead. Inactive fields are hidden from new checkouts and the patron page, but their values are preserved in the database and appear in XLSX exports.
A required checkout field adds friction to every ticket purchase. Use required fields sparingly — access needs, for example, work well as optional fields with clear help text.
Nonprofit venues automatically get two seeded (inactive) fields: "Access requirements" (select) and "Order notes" (text). Activate them from this page when ready.
Create an optional "T-shirt size" select field with options S, M, L, XL. Turn on "Ask at checkout." Test it in a public checkout tab and confirm the question appears. Then deactivate the field and confirm the checkout no longer shows it.