
A layout is a reusable map of your seating configuration. You create one layout for your venue and attach it to reserved-seating events. Multiple events can share the same layout.
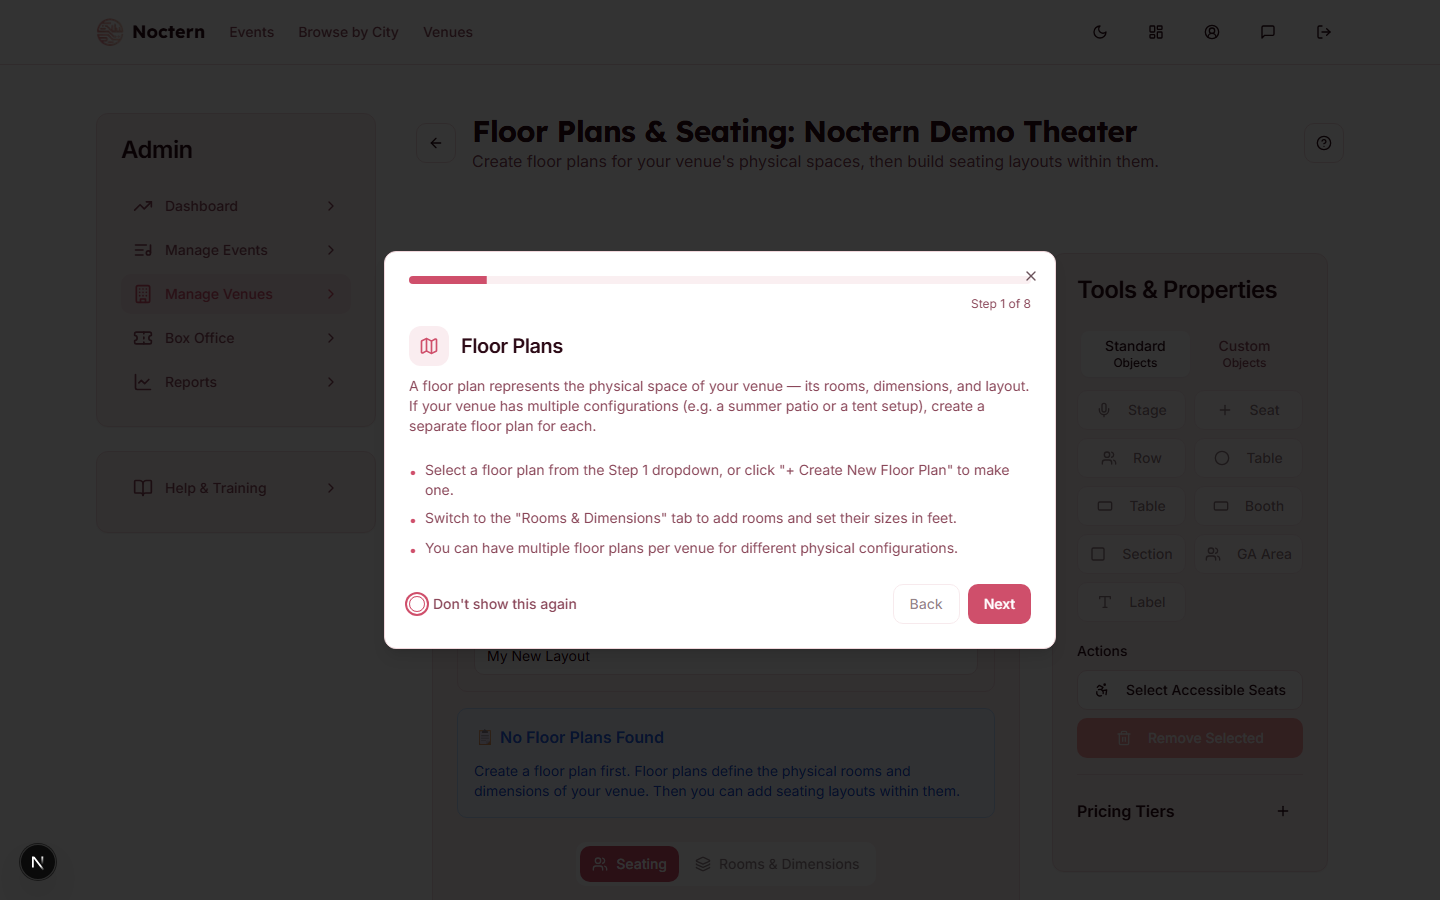
Go to AdminVenues[venue]Layouts to manage your layouts.
Layout types
- Reserved seating — individual seats, rows, tables, or booths; each seat gets its own QR code
- GA area — a labeled area with a capacity (no individual seats); used for general-admission sections within a reserved-seating venue
You can mix reserved and GA sections in the same layout.
Adding objects to the canvas
- Click New layout or open an existing one to enter the editor.
Drag an object from the left palette onto the canvas:
- Single seat — one seat
- Row — a row of seats (auto-numbered left to right)
- Table — numbered seats arranged around a shape
- GA area — a labeled polygon with a capacity input
- Resize or rotate the object using the handles. Double-click a row or table to set the number of seats.
- Label rows and sections by clicking the label field in the inspector panel on the right.
Assigning pricing tiers
Each section or row must be assigned a pricing tier before you can attach the layout to a ticketed event.
- Click a row or section to select it.
- In the right-hand inspector, choose a Pricing tier from the dropdown. The section changes to that tier's color.
- Repeat for every section. Unassigned sections appear in gray and will block event attachment.
Saving and publishing
- Save — stores the layout as a draft; not yet available on the event edit page
- Publish — makes the layout selectable when creating or editing an event
Editing a published layout affects all future events that use it. Events with tickets already sold retain their original seat assignments — edits do not retroactively change sold tickets.
Attaching a layout to an event
On the event edit page, under Seating, select your published layout from the dropdown. Each pricing tier defined in the layout maps to a tier on the event. Set the per-tier price there.
Build your layout before creating events. The layout must be published before it appears in the event edit dropdown.
Create a simple 3-row layout with two tiers (Orchestra and Balcony), assign each row to a tier, and publish it. Then create a new event, attach this layout, and set a price for each tier.